
- Is Fallout 76 Cross Platform: The Cross-Platform Capabilities of Fallout 76 - April 17, 2023
- Fallout 76 Secret Service Armor Guide – Not So Secret Anymore - February 23, 2023
- Fallout 4 Settlements Guide - February 1, 2023
When we start walking around the Commonwealth after exiting Vault 111 for the first time, most of us forget completely about Shaun and the apparent need to find him in roughly five minutes flat. After all, most of us probably blasted through the main story in less than ten hours our first time around and wanted nothing more than to avoid Shaun’s creepy synth clone for as long as possible.
Therefore, the sane among us probably got off the beaten track almost immediately, exploring everything the Commonwealth offers. However, it isn’t until we reach the downtown metropolitan area that we find some of the real gems this game offers.
While the main quest of Fallout 4 was not exactly everything I would have hoped for or imagined, the side quests that the developers dotted around the map are truly the best things about this game. While the developers and writers may have been a little hamstrung when setting up the main story, they were allowed to expel all their creative and crazy juices when plotting out some of these quests.
Therefore, it is only right that we give the appropriate amount of attention to one of the most enjoyable quests you will stumble upon throughout the entire game, a quest I really think everyone will enjoy. Assuming you have a love for late 18th-century warships perched atop skyscrapers and manned by robots who have deluded themselves into thinking they are pirates? Who am I kidding? Of course, you do; let’s get right into it our The Last Voyage Guide!
Some Recommendations
Before you begin this quest, it is important to note that this is not one of the easiest quests for beginner characters to take on. Therefore, I recommend that the player be at least level 10 or above before beginning this quest.
Also, should you want this quest to be smooth sailing (see what I did there), I recommend you have a suggested intelligence rating of 5+.
Lastly, when it comes to companions, make sure you bring the right guy, gal, robot, or dog along for the ride because some of your normal companions can really make this quest a lot harder than it needs to be. Essentially, only bring either Dogmeat or Curie.
All other companions will either disagree with the player’s actions in order to get the good quest rewards or, in Preston Garvey’s case, turn the entire boat hostile towards the player, running the quest for everyone just like Preston always ruins everything.
Permission to Come Aboard
Like most of the best side quests in Fallout 4, the developers have left this quest out in the wild to be found organically. Therefore, you will not be directed here by several NPCs or quest targets. Instead, you will have to find this three-masted war vessel all on your lonesome, organically gaining the quest.
Of course, if you don’t have the time for that and really want to get your teeth into this quest, you would most likely find the boat initially by heading to the Charlestown neighborhood of Boston. The ship will be found perched atop the Weatherby Savings & Loan building in the north section of this area.
However, once you get into this general vicinity, it is pretty hard to miss the random boat perched atop a financial building. The ship itself is from 1797 and is called the USS Constitution. According to the ship’s now captain, who we will discuss later, this ship was once the pride of the American navy. At the time of the Great War, this old ship was docked in the Boston Navy Yard and operated as a tourist attraction, complete with a crew of robots programmed to emulate the crew that would have maned the vessel all those years ago.
When the sole survivor approaches the vessel, they will be stopped and inspected by Lookout, a Mister Handy robot who can be found patrolling the streets below the USS Constitution.
The player will have a short chat with this crew member wherein he will approve of the player due to his past military service record before the Great War. The player will then be directed up to the quest holder, Captain Ironsides. Of course, the player can always bypass Lookout and head up to Captain Ironsides under their own steam to start the quest.
Once you make your way up through the bank, enter the boat via the trapdoor in the hull and make your way up to Captain Ironsides. Keep in mind that when you enter the ship, you will face many robots that are often hostile throughout the rest of the Commonwealth. However, you are safe as they will stay friends if you don’t draw and fire your weapon.
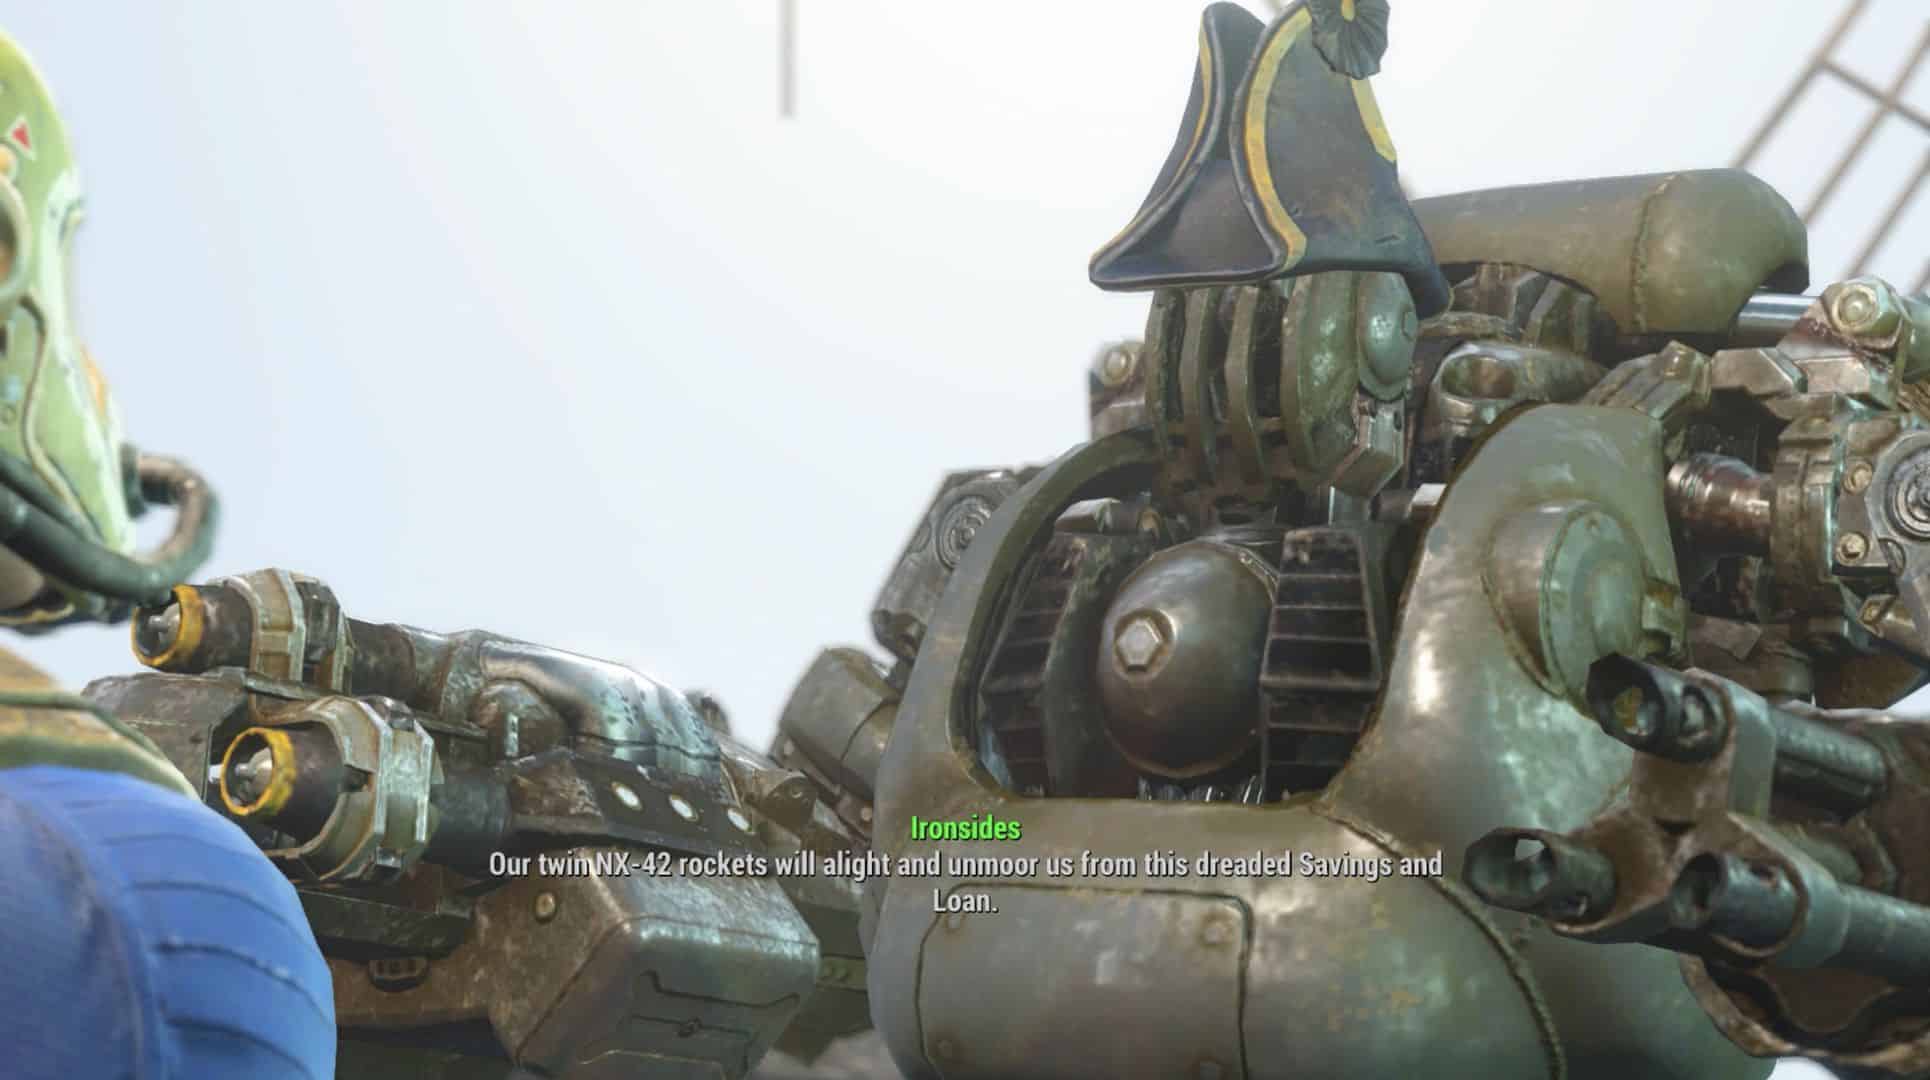
When you reach the top of the ship, find Ironsides. He is pretty hard to miss; look for the massive sentry bot wearing a tri-corn military hat. A pretty funny sight if you ask me.
Oh Captain, My Captain
When you finally get to talk with Captain Ironsides, he will tell the player that his vessel and crew have been stuck atop this bank for a long time, preventing them from carrying out their mission. We are never deemed important enough to find out what this mission is, but one can assume it has something to do with a war for independence that has been over for more than 400 years by this point.
This is when the player buckles in for some long-winded exposition dump about how they must help get the boat up and running again for the good of the Commonwealth or something. However, pirates attack the vessel before this presumably beautiful and wacky speech can take place. Well, not exactly pirates.
First Contact
When the wasteland equivalent of pirates attacks the ship, these scavengers will be roaming around the ground level, trying to get lucky shots off on you and the crew of the USS Constitution. At this point, your quest marker will update, telling the player to help defend the boat.
This is when the fun really begins because part of this newly updated quest marker is the optional task of using some of the ship’s built-in defense systems, the same systems that made the vessel the scourge of the English Navy. Once you have begun the fight, head over to the terminal just to the right of Captain Ironsides; here, you will find a lever that controls the ship’s cannons.
After making sure the coast is clear of friendlies, pull that lever and watch the scavengers go up in flames. If you manage to mess up and accidentally hit one of your crewmates with a wayward bullet or grenade, the entire vessel will turn hostile towards the player, failing the quest.
After the scavengers have been dealt with and the entire vessel has calmed down, head back to Captain Ironsides to receive that lovely speech I was talking about earlier. By the end of this dialogue, the player will be instructed to find Bosun, a Mr. Navigator who is in charge of the ship’s much-needed repairs.
Getting To Work
When you speak with Bosun, who appears to be just a regular Mister Handy robot without arms, he will instruct the player that they must first repair the power cables that run throughout the ship’s lower decks.
Bosun will supply the player with new power cables. However. Should you have an intelligence rating of three or higher, you can jury rig these fixes, keeping the new power cables Bosun offered you. This is advisable as the fresh power cables have a lot of valuable resources in them, which can be salvaged later for settlements and weapon modifications.
There are three power cable sites that will need the player’s attention; the first is right beside Bosun when he gives you this quest, and the other two reside in the decks below you. However, they are pretty hard to miss in their unique yellow electrics boxes.
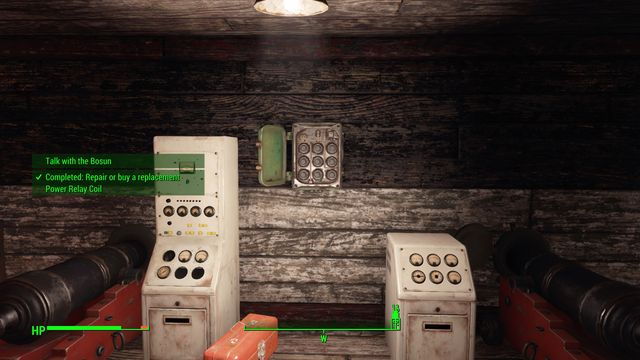
Your next quest, given to you by Bosun, requires the player to repair or replace their damaged power relay coil, a seemingly vital piece to the ship’s repair. Of course, should the player have an intelligence of five or above, they can walk right up to the broken relay coil and fix it on the spot.
Alternatively, you will have to go out into the Commonwealth and buy a new one, and they aren’t cheap. Hence my recommendation to start this quest with at least five points in intelligence. The fuse box for this piece of tech can be found on the ship’s third deck, on the western side of the ship (I’m not sure what the boating word for the west is).
Choices, Beautiful Choices
The next quest given to the player by Mr. Navigator is where this whole thing gets interesting and a little spicy. You see, Mr. Navigator, who is seemingly not much of a navigator, requires the player to go out and retrieve the ship’s guidance chip from the scavenger outpost, the same scavengers who attacked the vessel mere minutes ago IRL time.
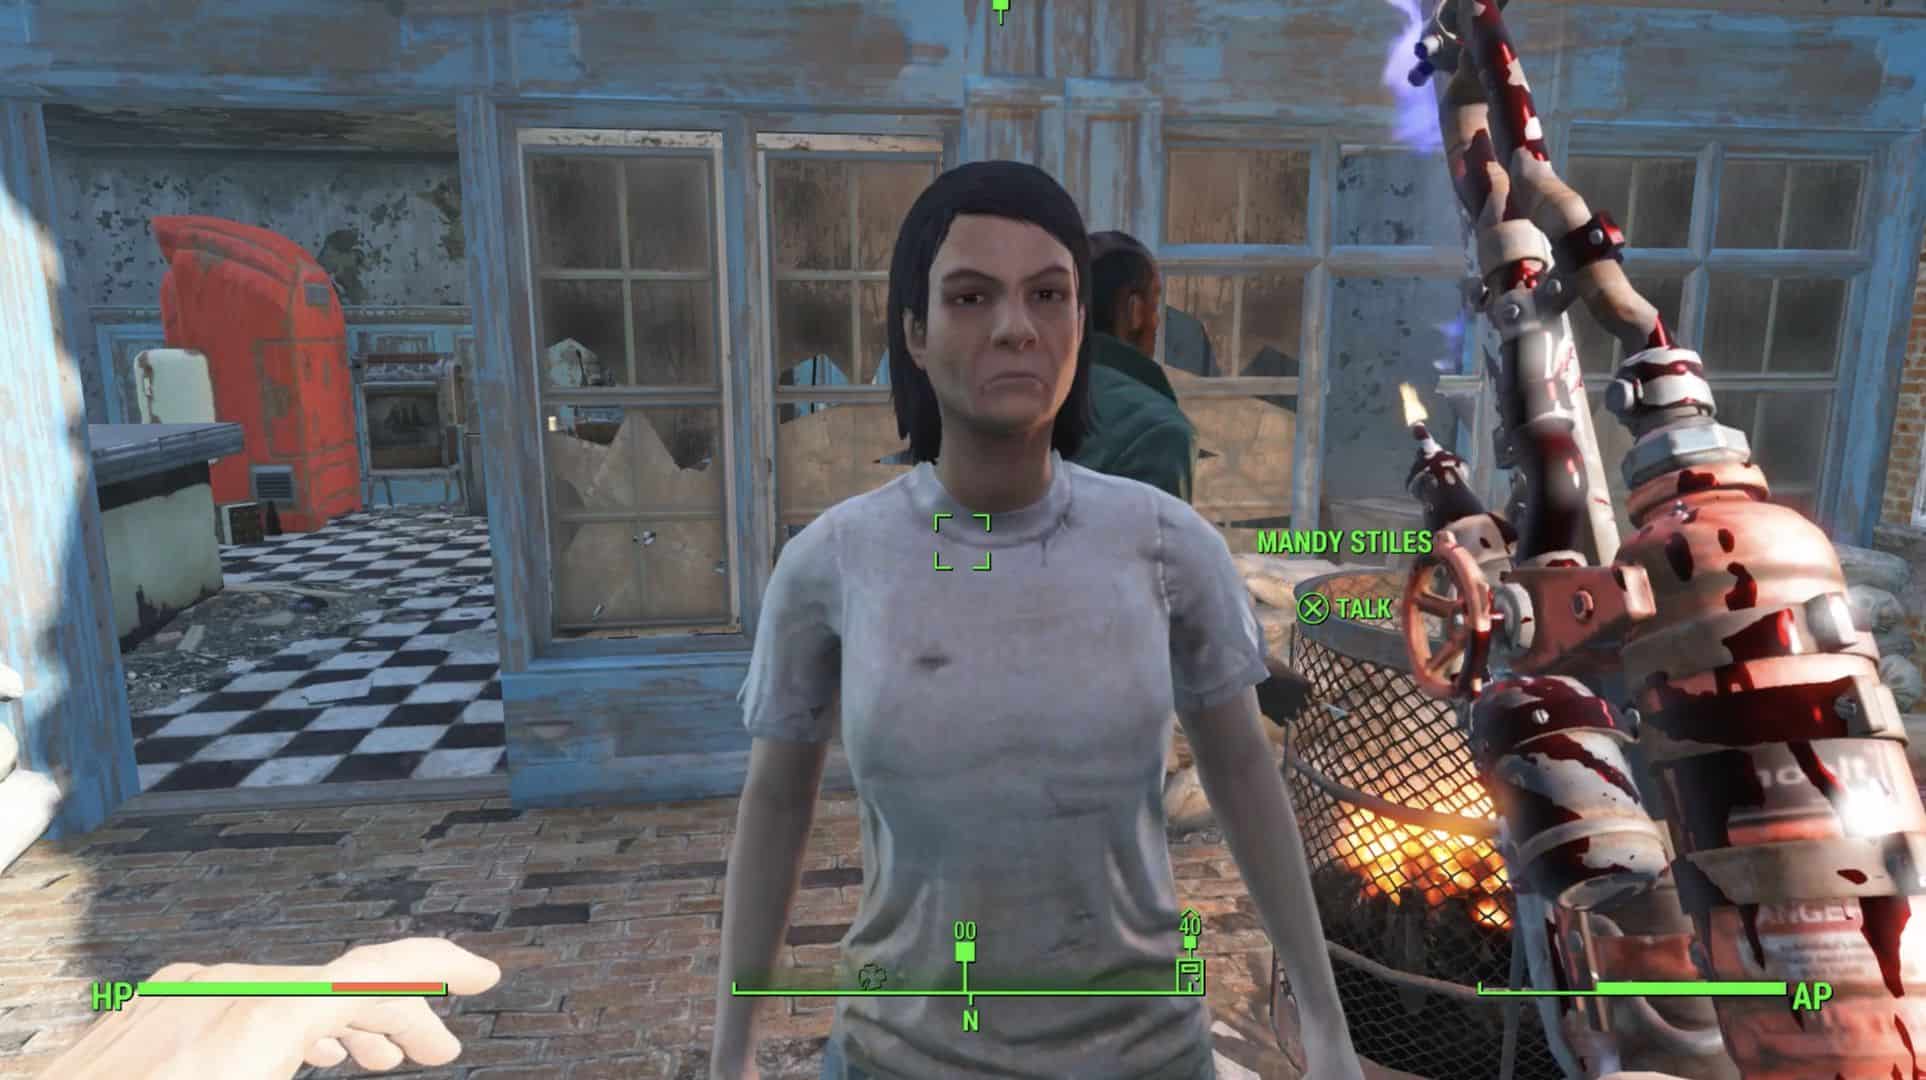
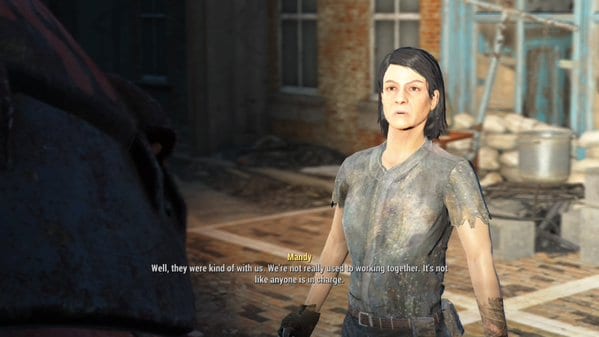
When the player makes the short journey to visit these scavengers, you will, surprisingly, not be met with hostility and gunfire; instead, one of the leaders of the group, Mandy Stiles, will enter into a dialogue with the player.
Mandy will then tell the player that the faction of scavengers who attacked the ship was crazy and out of control, attacking without giving her an opportunity to stop them. However, she will also counter her people’s guilt by stating that the robots aboard the ship are also crazy and just as dangerous. I mean, she has a point; wouldn’t we shoot and kill every other band of robots in our way throughout the rest of the Commonwealth? Why is this group different just because the captain is wearing a funny hat?
The decision regarding which group is right or wrong will ultimately be up to the player, with crunch time coming when Mandy asks the player to switch sides, helping them attack the boat and mutiny against Captain Ironsides.
However, regardless of who you think is right or wrong in this instance, I would advise you to always side with the robots in this quest, as their reward is much better than anything the scavengers or Mandy will give you. Although, your moral compass may override this greedy streak.
At this point in the quest, who you decide to side with has greater implications for the direction of your mission further down the road. These changes are:
- If you decide to stick with Ironsides and his crew, the player will have to steal the navigation chip, resulting in the scavenger group turning hostile towards the player, regardless of whether or not the theft was detected. However, Ironsides does request that the player manage to get this chip without any bloodshed. To do this, I would advise simply stealing it and running like hell back to the ship.
- If you decide to side with Mandy and her people, then they will give the player the guidance chip for free after they have had some time to tamper with it. From this point on, Mandy will tell the player to bring any technology the robots have asked him to scavenge back to them first, allowing them to sabotage it.
At this point in the quest, your decision does not change your next move. With the chip in hand, altered or unaltered, the player must go back to the ship and install the chip. To do this, head to the bow of the ship and activate the core guidance system to implant the chip.
Another Couple of Fetch Quests
After this chip is installed, the Mr. Navigator robot will then ask the player for some more help, telling the sole survivor that the guidance radar also needs repairing. From here, the player can either jury rig a repair, assuming that you have nine or higher intelligence stats, or you can take the short, northwesterly walk over to get the Poseidon Radar Transmitter.
Should you not have the required intelligence skill for this section of the quest, don’t worry; regardless of player level, you really should have no difficulty at this location. The hardest enemy I was confronted with was a legendary bloat fly.
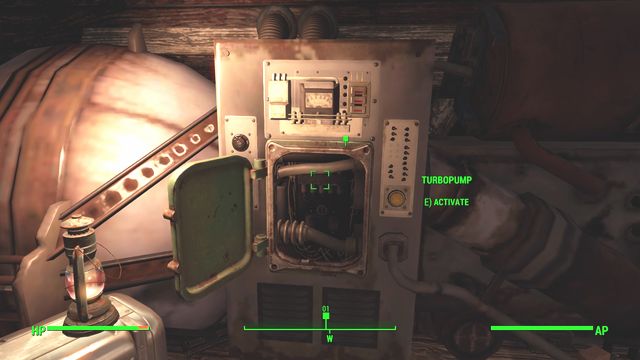
Once you return from this short adventure and you have installed the radio transmitter, you will have to speak with the captain again. Ironsides will tell the player that you need to retrieve and replace the turbo pump bearings in order to get the ship’s thrusters moving again.
At this stage, he will also give the player a key to the captain’s quarter on the ship. Ironsides doesn’t mind giving this to the player, considering that he is a sentry bot whose massive frame prevents him from getting into the room. Also, his being a robot might have something to do with not needing somewhere to sleep. This key will also give the player access to these turbo pumps.
Sadly, in this instance, the player cannot fashion the turbo pump repairs out of old shoe laces or scraps of dag food; therefore, regardless of intelligence, you will have to head on over to one of three locations.
- Corvega Assembly Plant.
- Fort Hagen.
- General Atomics Factory.
In my experience, I always end up heading to Fort Hagen. When the player arrives in this area, expect to run into some generation 1 synths and sentry bots. However, the generous amount of fusion cells will make this a rather profitable trip. After they have all been killed, head through the building and retrieve your bearings.
After this is complete, the player will need to make their final decision. Either head straight back to Ironsides or go to the scavengers first. Your decision here will lock in your choice, deciding the quest ending your receive.
Siding with the Savages
It is from this point on that I will be referring to the scavengers as the savages because that is who they are. While they may plague the player with sob stories and excuses, in the beginning, it is clear that as you progress down their side of this quest, they are nothing more than wasteland trash.
However, if you did want to side with the savages, you must take your newly required FLL3 turbopump bearing to Mandy Stiles instead of Ironsides. Here, her second in command, Davies, will sabotage them somehow, resulting in the ship’s explosion if and when the turbopumps are ignited.
Once this is done, install the sabotaged bearings in the captain’s quarters and head back to Ironsides, he will update the quest target and send the player to turn on the auxiliary power. Once on ground level, head inside the second building on the south side of the street. Inside, you can meet up again with Mandy, who will tell the player to flip the switch.
Once this is done, the explosion you were promised will not happen, with only the turbopumps making in sort of explosion, leaving the ship intact. However, this will, of course, turn the ship and its robotic crew against the player, leaving you and the savages with very few options outside of boarding and attacking the vessel.
After the robots have been defeated and the vessel is in the hands of the humans, head back to Mandy, who will now be somewhere near the Cabot House. This is where the expected happens. Instead of giving the player the cut that they were promised, Mandy tells the sole survivor that a vote was taken, and they have been cut out of the cut and will, therefore, be killed.
The combat soon starts, leaving the player with no choice but to eliminate Mandy, Davies, and the other two savages in the area to complete the quest. However, should this happen to you, I imagine killing them all won’t be too much of a chore. This is why you never side with humans in a Fallout game. Regardless of who the other factions are, Fallout has time and time again told us to side with the robots, ghouls, or even super mutants instead of humans.
It is at this point that I would like to mention that the player can simply kill Mandy without ever speaking to her. This will not affect your ability to finish the quest for Ironsides and will save you some precious moments of your life.
Siding With Ironsides
If your initial playthrough of this quest did not see your side with Ironsides, then I don’t think you and I will be friends. I mean, the man has ‘side’ in his name. However, assuming you are sane and side with the funny hat-wearing robot, here is what you can expect.
When you side with Ironsides, head directly from retrieving the bearings back to the boat; doing this will activate another wave of attack from the scavengers. However, this attack is pretty easy to repel; after all, you have done it before. To complete this section of the quest, ensure the scavengers are dealt with before they manage to reach the main deck; this will fail the quest.
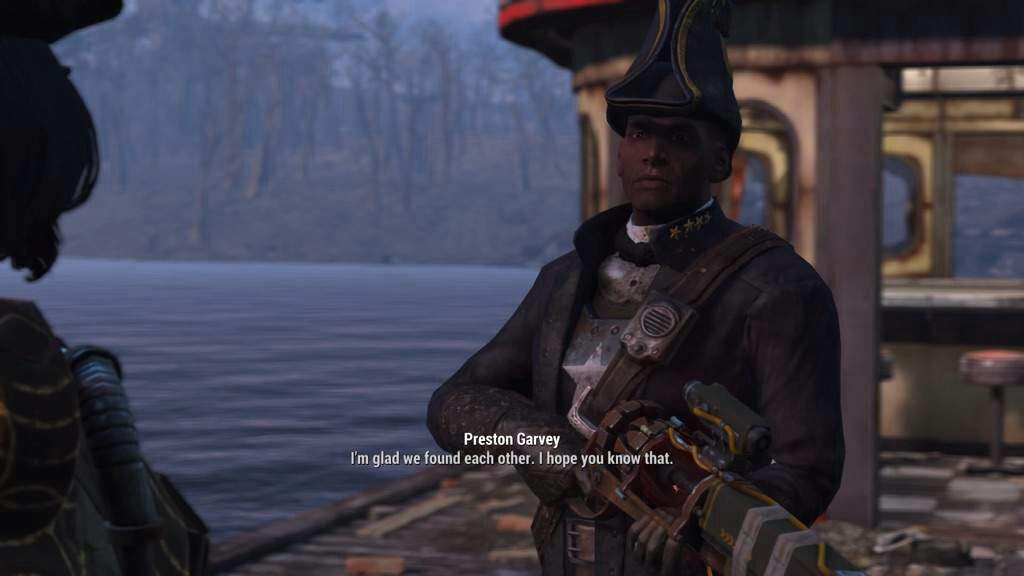
Once all these enemies are dealt with, speak with Ironsides, who will reward the player with Broadsider, a unique weapon in Fallout 4, before sending you down to the surface to turn on the auxiliary power. Once the power is flipped, the vessel will take to the skies, looking very majestic for the ten seconds that it sails the air before crashing into another building in the distance.
After this, travel to the Faneuil Hall and make your way up the building to find Ironsides and his crew intact. Once you speak with Ironsides again, he will give the player his Lieutenant’s Hat, therefore completing the quest.

Unique Quest Items
One of the reasons many people decide to side with Captain Ironsides and his crew throughout this quest is for the great rewards that he gives you. On the other hand, the scavengers give the player nothing, attempting to kill you instead. Let’s take a look at these rewards.
Broadsider
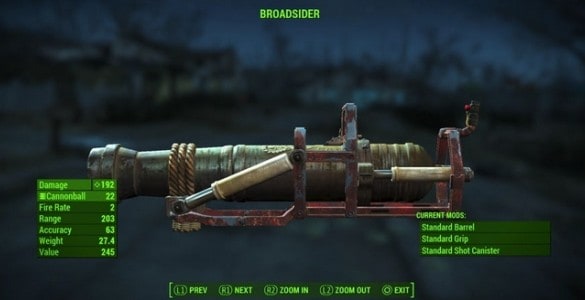
As mentioned, this two-handed weapon is unique in Fallout 4. This heavy weapon can be best described as an 18th-century cannon strapped with some 23rd-century technology. The cannon fires cannonballs via electromagnetic pulses taped to the back handle. There are a couple of possible weapon mods available for this cannon but not as many as you would expect.
The Broadsider is one of the most powerful weapons in Fallout 4, only surpassed by the Fat Man and the Gauss Rifle.
Base Weapon Stats
- Range: 203
- Accuracy: 63
- Value: 245
- Weight: 27.4
Lieutenant’s Hat
This hat is a unique variation of Captain Ironsides Captain’s Hat. It is, therefore, only acquirable by siding with the caption in this quest. This hat is given to the player alongside an honorary position on the USS Constitution, making the sole survivor an “Honorary Lieutenant.”
Base Item Stats
- DR: 0
- ER: 0
- RR: 0
- Effects: Charisma +1
- Weight: 0.5
- Value: 15
Frequently Asked Questions
Question: Where did the USS Constitution go in Fallout 4?
Answer: At the quest’s beginning, the ship can be found east of Bunker Hill and West of East Boston Police Station. By the end of the quest, should you have sided with Ironsides, the ship will be perched atop Faneuil Hall.
Question: Who should you side with, Ironsides or the scavengers?
Answer: There is only one real answer to this question. Siding with Ironsides gives the player a better quest ending, rewards, and overall experience. While siding with the scavengers gets, the player nothing but a couple of extra bottlecaps looted from their dead bodies after they try and double-cross you.
Question: Can you stay on the USS Constitution while it flies away?
Answer: The player can stay aboard the ship while it flies away without dying. To do this, either have your companion flip the auxiliary power switch or fly aboard the ship with a power armor and jetpack combination before it takes off.
Final Thoughts
So, there you have it, a comprehensive guide to one of the best side quests in Fallout 4. I think that people love this quest so much because it perfectly sums up the world of Fallout, showing the player that, no matter what they say or do, the greatest villain you will find in the Commonwealth is other humans. This is a trend I have seen across every Fallout game, and I love it.
I really hope that this guide helped you in your quest and made it a little bit easier for you, improving your experience. Regardless, I hope to see you again soon and wish you luck with all your wasteland adventures.